October 05, 2026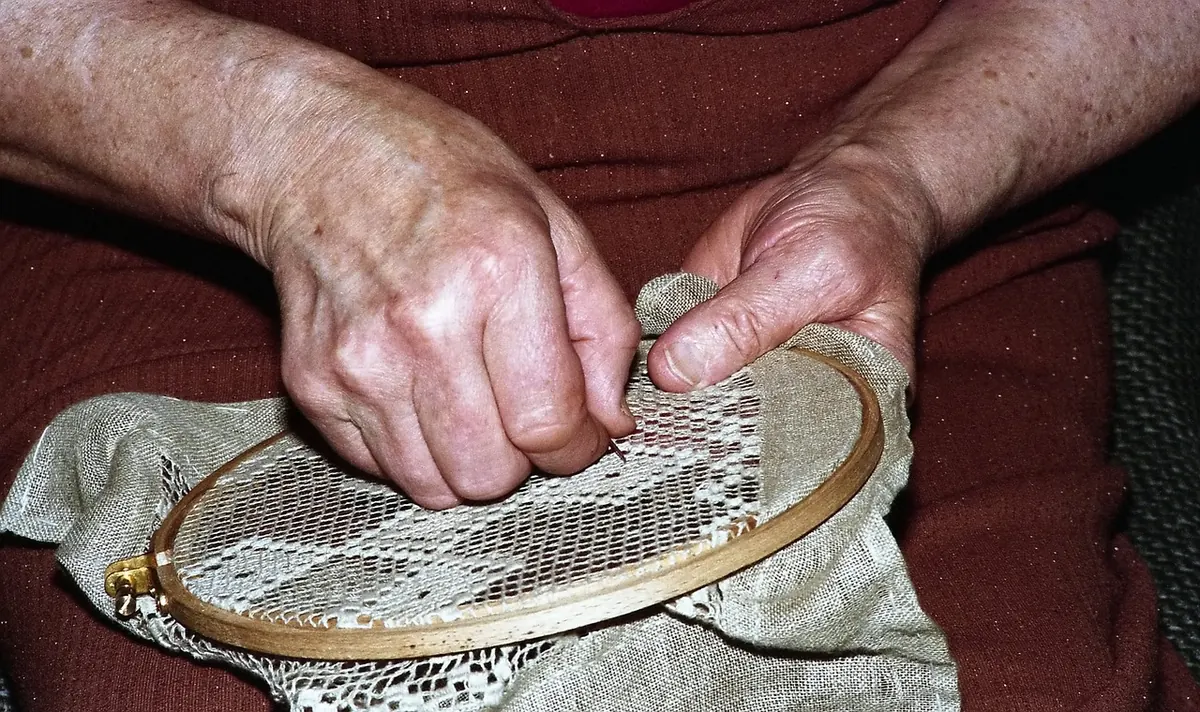
Embroidery is one of the few crafts where the set-up costs almost nothing and the finished piece looks properly considered. A needle, a hoop, two or three skeins of thread and an offcut of cotton — that is the whole kit. Within an afternoon you can stitch a small hoop good enough to hang by the front door, or sew a motif onto a cushion for a friend's birthday.
Six stitches will carry you through most of it. Learn them one at a time, use them on real gifts rather than endless practice squares, and the rhythm comes quickly. Below are the six that cover almost every line, fill and dot you are likely to want, plus the small habits that separate neat work from work you would rather hide.
What you actually need to begin
You do not need a full craft cupboard. Start with this:
- A small hoop, 10–15cm across, with a brass screw. Wooden ones grip the fabric well.
- Embroidery needles — sharp, with an eye wide enough for floss.
- Six-strand embroidery floss in three or four colours you actually like.
- A close-weave fabric: cotton, calico, linen or a good-quality tea towel.
- Small sharp scissors, and a water-soluble pen or fine chalk pencil for marking.
Buy needles and floss from a haberdashery rather than a general stationer if you can; the difference shows in the stitching. Leave stretchy jersey and loose-weave fabrics for later projects — the needle drags and the stitches sink into the gaps.
Six stitches worth learning
Running stitch
The simplest of all: needle up, needle down, even gaps. Load three or four stitches onto the needle before pulling the thread through, and your spacing will be far more regular than if you take one stitch at a time. Use running stitch for borders, dotted outlines, gathering and the quilting lines on a cushion panel.
Backstitch
This is the one that gives a solid, unbroken line. Bring the needle up, take a small stitch backwards, then bring it up again the same distance ahead of where you started. Use it for lettering, fine outlines, stems and any edge that needs to look crisp. Backstitch also makes a firm base for satin stitch.
Stem stitch
Work from left to right, bringing the needle up halfway along the previous stitch and keeping the working thread consistently to one side of it. The result is a rope-like line that curves beautifully, which is why it is the standard choice for stems, vines, ribbons and monograms.
Chain stitch
A looped stitch that builds quickly into a bold line. Bring the needle up, hold the thread in a loop, take the needle back down beside where it came up, then bring it up inside the loop. Chain stitch covers ground fast and suits flower petals and thick outlines that running stitch would make look thin.
Satin stitch
The filling stitch. Trace the shape first, backstitch around its outline for a firm edge, then lay straight stitches side by side across the shape, working from one side to the other. Keep them close but do not pull tight, or the fabric will pucker. Worth the effort on leaves, hearts, small flowers and initials.
French knots
Bring the needle up, wrap the thread twice around it, then take the needle back down a thread's width away, holding the wrapped thread close to the fabric as you pull through. Two wraps gives a neat small knot; three gives a bolder one. Use them for flower centres, berries, and anywhere a design needs texture rather than stitch length.
Matching the stitch to the gift
Cushions. Outline a motif in backstitch or stem stitch, fill small areas with satin stitch and add French knot centres. Leave large open areas unfilled so the cushion still feels soft. Press a light fusible interfacing behind the embroidered panel so the stitches do not snag or pull when the cover is washed.
Cards. Small scale, so use two or three strands at most with a fine needle. Stitch onto a small square of fabric and attach that to the card, or pierce a grid of holes in heavyweight card and stitch directly through it, lining the inside with a scrap of paper to hide the ends.
Hoops. A hoop is a gift in itself. Choose a motif that fills the space without crowding it, finish the back properly, and it can be hung straight away. Simple designs work best: a single flower, a few sprigs, a short word in backstitch.
Small habits that make everything easier
- Cut thread to about 45cm. Longer lengths fray and tangle.
- Separate the six strands one at a time and use two or three for most work; save all six for bold filling.
- Start without a knot. Anchor the tail under a few stitches on the front, or use a waste knot you snip off later.
- Keep the fabric drum-tight in the hoop while working, but loosen it before putting the work away so the fabric is not stretched permanently.
- Rethread once the end frays rather than struggling on; frayed thread makes lumpy stitches.
- On anything wearable or washable, never carry threads across open areas on the back.
If a stitch looks untidy, the cause is almost always tension rather than technique. Ease off before you reach for the unpicker.
Finishing so it lasts
Press the finished embroidery face down on a folded towel with a warm iron and no steam, so the stitches stay raised. Weave loose ends through the back of the stitching for a couple of centimetres rather than knotting them, then trim.
For hoops, glue or stitch a circle of felt or plain cotton over the back of the frame, or gather a fabric circle around the inner ring. It looks tidy from both sides and protects the thread. For cushions, apply the interfacing before sewing the cover together. For cards, keep the stitching shallow and check the card still closes flat.
Your first project: a six-row sampler
Pick a hoop about 12cm across and mark six faint horizontal lines on your fabric. Stitch one row of each stitch, keeping each to roughly the width of the hoop, and label them in backstitch down the side if you like. It takes an evening, teaches you how every stitch behaves on your particular fabric, and leaves you with a reference piece to pin above your sewing table.
Then choose one stitch, one motif and one person. A stem of leaves for a cushion, a small heart for a card, a monogram for a hoop. Embroidery rewards practice far more than equipment, so the sooner you move from sampler to real gift, the sooner your stitches settle into an even, confident rhythm.
Photo: MeHe / Pixabay