September 13, 2026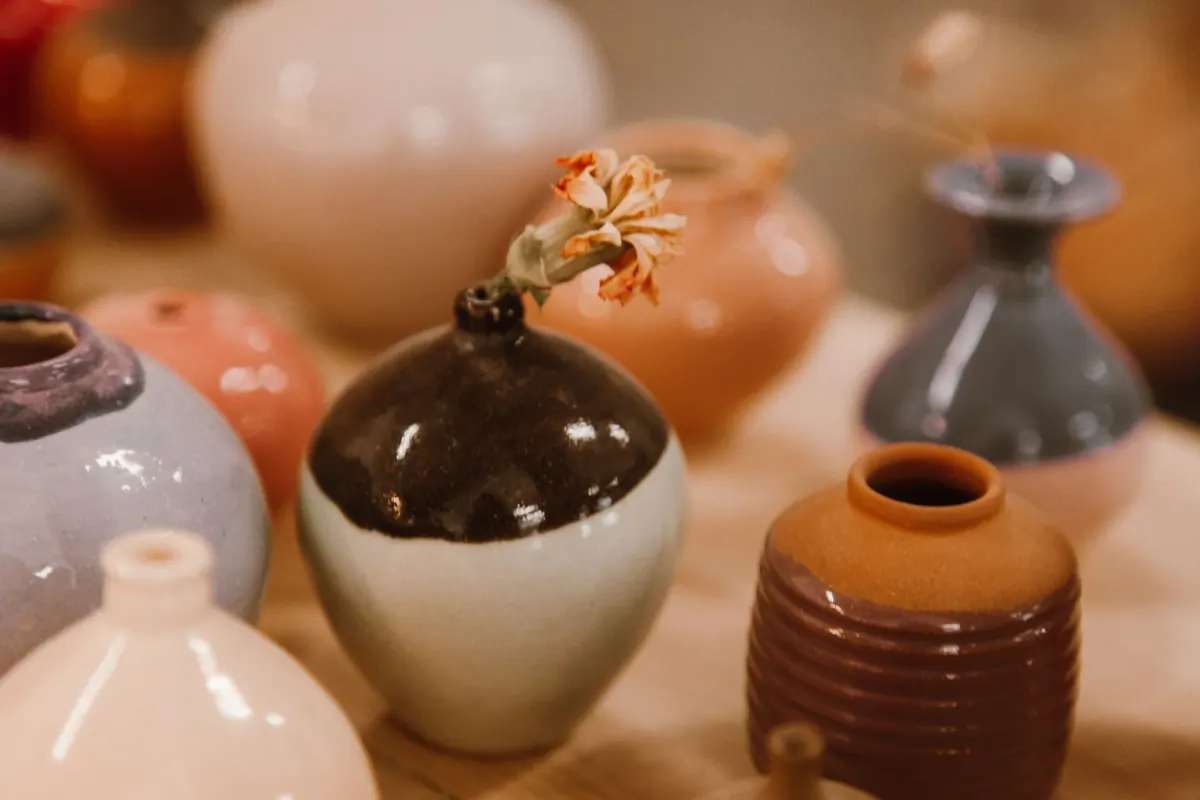
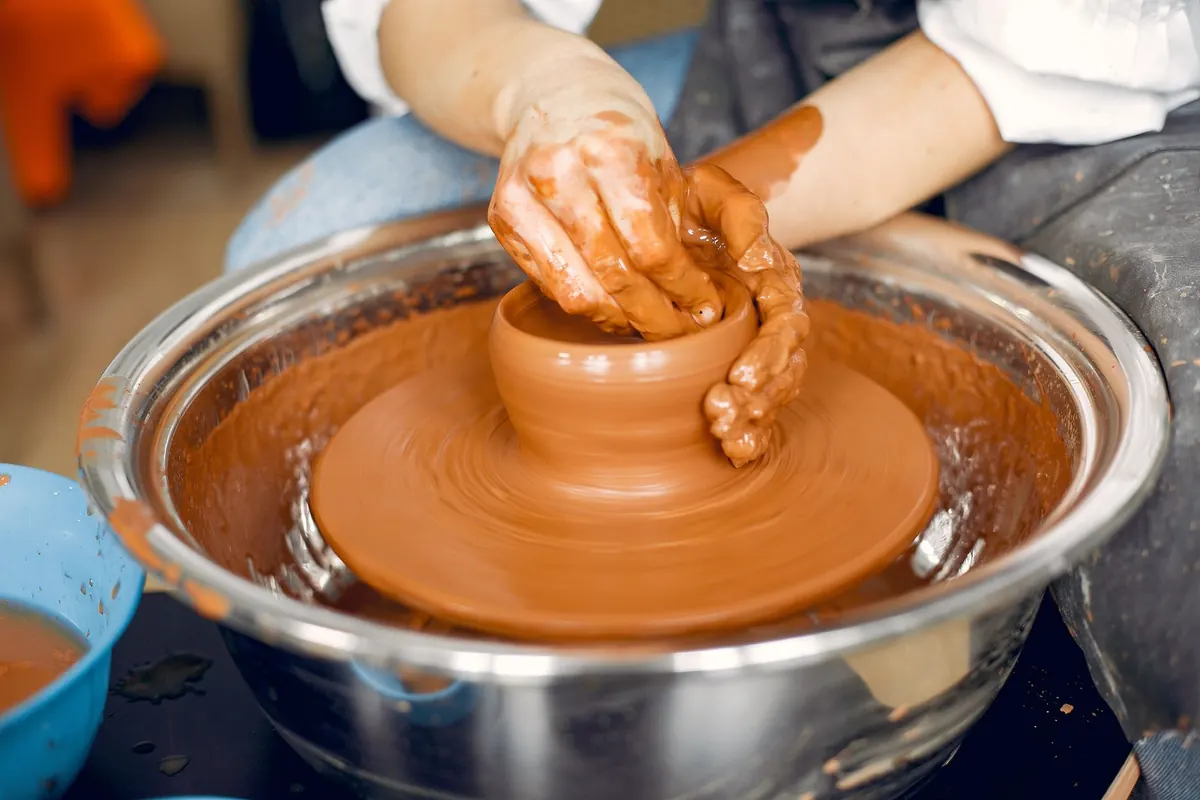
Glazing can feel like the final frontier for home potters. You have shaped and bisque-fired a piece, and now you face a shelf of mysterious buckets and powders. The good news is that glazing rewards patience and method rather than luck. This guide walks through the essentials: picking a glaze that suits your clay and your kiln, applying it evenly by dipping, pouring or brushing, and spotting the faults that send pots back to the shelf.
What Glaze Actually Does
A glaze is a thin layer of glass fused to the clay surface. It is made from three main ingredients: silica (the glass former), a flux (which lowers the melting point) and alumina (which stiffens the melt and helps it stick). Colourants and opacifiers are added for appearance. When you fire a glazed pot, the glaze melts, flows and then cools to a smooth, durable surface. That surface can be glossy or matte, transparent or opaque, food-safe or purely decorative.
The key point for beginners is that glaze and clay must be compatible. A glaze designed for high-fire stoneware will not melt properly on low-fire earthenware. Always check the recommended firing range on the glaze container or recipe, and match it to your clay body.
Food Safety: What You Need to Know
If a pot will hold food or drink, the glaze must be food-safe. Commercial glazes sold for pottery are usually labelled as such, but that label only applies when fired correctly to the manufacturer's suggested temperature. Homemade glazes need testing. Some metal oxides, such as lead or barium, can leach into acidic foods like tomato sauce or coffee. Lead is no longer used in most modern glazes, but it still appears in old recipes and imported products.
For safety, keep the inside of a food bowl or mug simple: a clear or white commercial food-safe glaze is a reliable choice. Avoid highly textured or heavily coloured glazes on food-contact surfaces. If you plan to sell your work, check current regulations or speak to a professional. When in doubt, use a tested commercial glaze rather than an untested recipe.
Matching Glaze to Kiln Temperature
Kiln temperature is measured in cones or degrees Celsius. Most home potters work in one of three ranges:
- Low-fire (around 1000–1100°C): earthenware, bright colours, but softer and more porous.
- Mid-fire (around 1180–1220°C): stoneware, durable, good for functional ware.
- High-fire (around 1240–1300°C): porcelain and stoneware, very hard, fewer colour options.
Your clay body dictates the firing range. A glaze rated for cone 6 (about 1220°C) will be underfired and rough at cone 06 (about 1000°C). Overfiring can make it run off the pot. Keep a kiln log: note the glaze, the cone, the ramp speed and the results. That record becomes your most useful tool.
The Three Core Application Techniques
Dipping, pouring and brushing are the methods you will use most. Each has strengths. Dipping gives an even coat quickly. Pouring suits large or awkward shapes. Brushing is best for small pieces or detailed areas.
Dipping
Dipping is the standard for consistent coverage. The glaze needs the right thickness—like single cream. If it is too thick, it will crawl or run. If too thin, it will be patchy. Here is a reliable process:
- Stir the glaze thoroughly. Settled ingredients need to be reincorporated.
- Check consistency by dipping a finger or a test tile. The glaze should coat evenly and drip slowly.
- Hold the bisque pot with tongs or your fingers, leaving a clean area for the foot.
- Dip the pot for two to three seconds. Rotate it slightly as you lift to avoid drips.
- Drain over the bucket, then wipe the foot ring with a damp sponge.
- Let the glaze dry completely before firing.
For a thicker coat, dip twice with a short drying period between dips. Always test on a tile first.
Pouring
Pouring works well for large bowls or sculptures that will not fit in a bucket. Place the piece on a turntable or a board over a bucket. Pour glaze over the outside, turning the piece as you go. For the inside, pour glaze in, swirl it around to coat the walls, then pour it back into the bucket. You can also pour glaze into a jug and dip small areas. The aim is an even layer without puddles.
Brushing
Brushing is forgiving and gives you control. Use a soft, wide brush made for glazes. Apply three thin coats rather than one thick one. Brush in different directions between coats—horizontal, then vertical, then diagonal. Let each coat dry to a matte finish before adding the next. Thick brush marks can cause crawling, so keep the layers even. Brushing is ideal for touch-ups and for glazing small batches without mixing a large bucket.
Common Glaze Faults and How to Fix Them
Even experienced potters get faults. Most come down to thickness, fit or firing. Here are the usual suspects:
- Crawling: the glaze pulls back into islands. Cause: too thick a coat, or dusty bisque. Fix: apply thinner, and wipe bisque with a damp sponge before glazing.
- Pinholing: tiny holes in the surface. Cause: too thick a glaze, or firing too fast. Fix: thin the glaze, and slow the final ramp.
- Crazing: fine cracks like a spiderweb. Cause: the glaze contracts more than the clay. Fix: use a glaze matched to your clay, or fire to a higher temperature if the glaze allows.
- Shivering: flakes of glaze lifting off. Cause: glaze contracts less than the clay. Fix: try a different glaze or adjust the clay body.
- Running: glaze drips down the pot and onto the shelf. Cause: too thick a coat or overfiring. Fix: apply less glaze, and use stilts or a catch tray.
Keep notes on what you changed and what happened. A fault is only a failure if you do not learn from it.
Keeping a Glaze Journal
The most practical habit you can build is a glaze journal. Note the glaze name, the specific gravity or thickness, how many dips or coats you applied, the kiln schedule, and the result. Take a photo of each finished pot. After a few months, you will have a personal reference that tells you exactly what works in your studio. Start with small test tiles before committing a large piece. Accept that some tests will be ugly. That is normal. Every potter has a shelf of experiments that did not work out. The difference is that the ones who succeed keep going back to the bucket.
Photo: ROMAN ODINTSOV / Pexels