September 11, 2026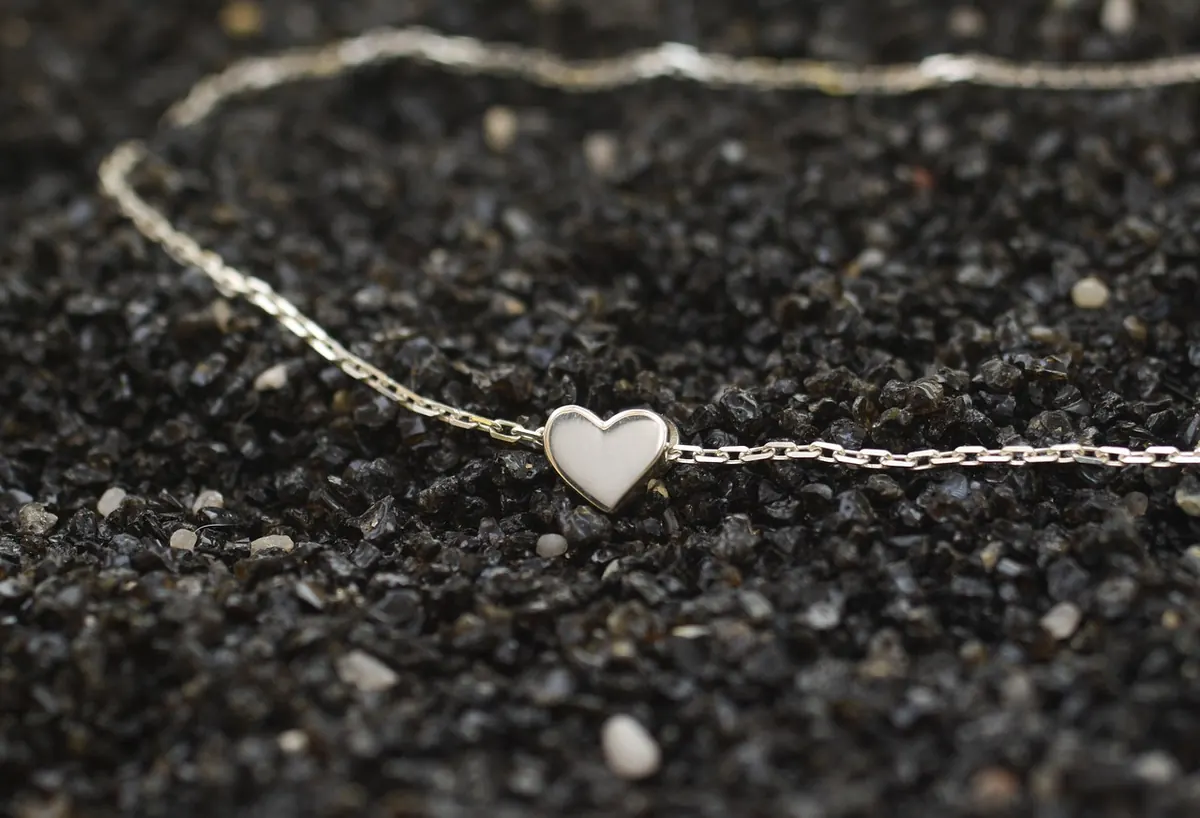
Silver clay arrives looking faintly unpromising: a grey, slightly damp lump that behaves a lot like putty. Press a leaf into it, let it dry, fire it, and what comes out is fine silver — 99.9% pure, with every vein of that leaf captured in metal. It is one of the few crafts where the material genuinely transforms in front of you, and a pendant is the ideal first project because it is flat, forgiving and needs almost no construction.
This guide covers the whole process, from choosing a leaf to the final polish. Allow an afternoon for your first attempt, and expect a few surprises — the shrinkage, in particular, catches everyone out.
What you will need
Most of the tools are inexpensive and available from UK jewellery suppliers, craft shops and online silver clay specialists.
- Silver clay — a 10g pack of PMC3, Art Clay Silver or similar. This is enough for one generous pendant with a little left over for a small charm.
- Non-stick sheet or ceramic tile to roll on. A Teflon craft sheet works well and peels cleanly.
- Acrylic roller and thickness guides — a pair of playing cards or thin wooden slats either side of the clay keeps the thickness even.
- Olive oil or a dab of skin balm to stop the leaf sticking.
- Fresh leaves (more on which ones below).
- Needle tool or cocktail stick for cutting round the shape and opening the hanging hole.
- Fine files and abrasive pads, plus a small brass brush.
- A kiln or a hand torch. Check which firing methods your clay is rated for before you buy.
Add safety glasses, long tweezers, a firing brick and a clear heatproof surface. If you are filing dry clay, a dust mask is sensible — silver clay dust is not something to breathe in.
Choosing and preparing your leaf
Detail is everything, so pick a leaf with deep, pronounced veins rather than a smooth, waxy one. Sage, rosemary, geranium, ivy and oak all press beautifully. Soft, fleshy or damp leaves tend to squash into a vague smear, and anything with powdery bloom will leave a dull patch.
Pick your leaf fresh, pat it dry and use it the same day. Dried leaves crumble and crack under the roller. If you want a flatter leaf for an even press, sandwich it between sheets of paper and leave it under a book for a day or two first.
Rolling and pressing the motif
Roll to an even thickness
Place the clay on your non-stick sheet and flatten it slightly with your fingers. Put your thickness guides either side — two playing cards give roughly the right depth — and roll across the clay in one direction, then turn the sheet a quarter turn and roll again. Aim for 1.5mm to 2mm. Thinner pieces look elegant but crack easily while still soft; thicker ones take longer to dry and can trap moisture.
Silver clay starts drying the moment it meets the air. Keep the spare clay in its sealed packet, and if the piece feels stiff, work a tiny drop of water or balm into the surface rather than adding more to the whole lump.
Press the leaf
Wipe the veined underside of the leaf with the thinnest film of oil. Lay it vein-side down on the clay and roll over it with firm, even pressure — once or twice, without letting the leaf slide. Lift a corner and check the impression. You want crisp ridges, not a faint shadow.
Peel the leaf away slowly from one corner. If the clay is still tacky, wait two or three minutes for it to firm up, then try again. Patience here saves a lot of swearing.
Now cut round the outline with your needle tool, following the leaf's shape or a simpler oval if the edges are ragged. Smooth the cut edges with a damp fingertip. For the hanging loop, roll a small sausage of clay, press it onto the top of the pendant, and blend the join with a drop of water and a brush — or leave the loop off entirely and drill a hole later.
Drying, refining and drilling
The piece must be completely, thoroughly dry before firing. Leave it somewhere warm for 12 to 24 hours, or speed things up on a hotplate, radiator or in a low oven at around 90°C for ten to fifteen minutes. It should feel chalky and look matte all the way through. Any trapped moisture turns to steam in the heat, which shows up as blisters or cracks.
Once dry, tidy the edges with fine files and abrasive pads, working over a damp cloth to catch the dust. If you are drilling a hanging hole, use a 1.5mm to 2mm bit or a needle tool, and remember that the clay shrinks during firing — roughly 8% to 12%, depending on the type. A 2mm hole may end up nearer 1.7mm. Leave a good few millimetres of clay between the hole and the edge, and make the hole slightly larger than you need.
Firing the pendant
Silver clay is not one material, and this is the point where general advice stops being useful. Each brand and type has its own firing schedule printed on the pack, and those numbers matter more than anything you read online. As a rough idea, kiln firing happens somewhere between 650°C and 900°C for five to thirty minutes, while low-fire clays can be torch fired until the metal glows a pale peachy orange, held at that heat for around two minutes.
If you are torch firing, work on a firing brick in a well-ventilated space, clear of anything flammable, with hair tied back and glasses on. Keep the flame moving constantly so the piece heats evenly, and use long tweezers rather than fingers. Kiln firing is more predictable and gives a stronger result — worth asking a local studio or makerspace if you do not own one, as many hire out kiln time.
When the time is up, let the pendant cool on the brick. Quenching in water is fine for plain silver, but skip it if you have set stones or glass. If you are unsure about your setup, fire a small scrap test piece first.
Finishing and polishing
Fired silver clay comes out white and slightly matte. A brass brush worked over the surface with warm soapy water brings up the classic satin finish, and it takes only a minute or two. From there you have choices:
- Satin — stop after brushing. Soft, understated, and it hides small scratches well.
- Burnished — rub the high points with an agate or steel burnisher to push the metal flat and bring up a low shine.
- Polished — work through abrasive pads from around 400 to 1200 grit, then finish with a rouge mop on a rotary tool.
- Patina — brush liver of sulphur into the recesses to darken the veins, then polish the raised areas back to bright silver. Rinse thoroughly afterwards and dry the piece well.
Only apply a patina after firing. On unfired clay it does nothing useful. Silver tarnishes over time, so store finished pieces in an anti-tarnish bag or a sealed box with a tarnish strip.
Before you start your next one
Keep your first pendant, including its flaws. Measure it, compare it with the leaf you pressed, and work out how much that particular clay shrank — that single measurement will improve everything you make afterwards. Note the firing schedule you used on a slip of paper in the clay packet, because you will not remember it in three months.
From here, the obvious next steps are layering two leaves for a more complex texture, adding a small cubic zirconia or a tube-set stone before firing, or turning the same press into matching earrings. If you plan to sell your work, check the current UK hallmarking rules for your piece's weight, and always work with proper ventilation and eye protection. Silversmithing is a craft of small, careful decisions, and your leaf pendant is a very good place to start making them.
Photo: SKDKArt / Pixabay